

In this project we will see how to create a digital clock like below:
As you can see, the clock is not a static clock that shows the current time and stops, but it is a dynamic clock that keeps ticking just like your watch.
We’ll use a little bit of HTML, CSS, and JavaScript.
So let’s see how to accomplish this project.
Part 1: HTML
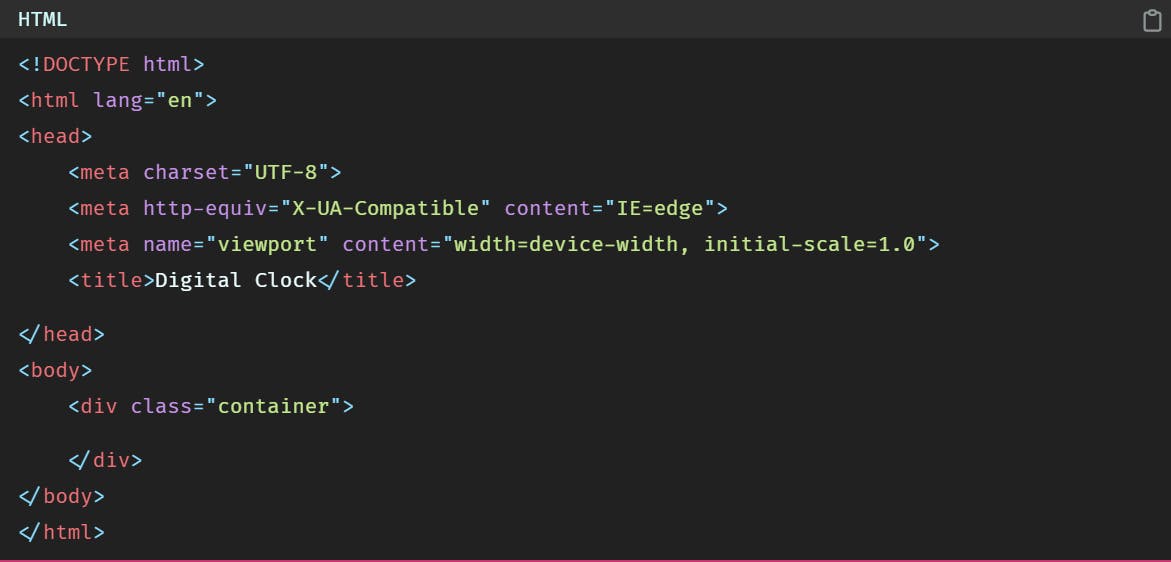
To start this project we’re going to create a <div></div> that will contain all our elements and we will give it a class of container.
So the HTML code will be:
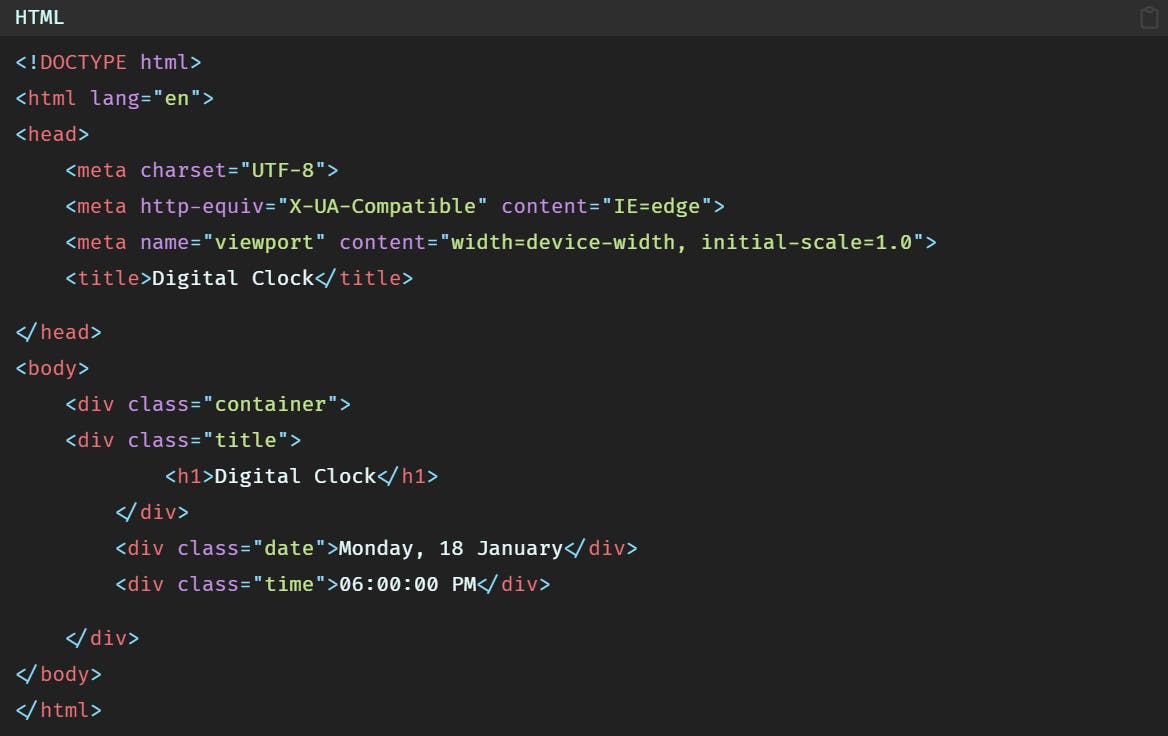
After that, we will create 3 <div></div> tags inside the container <div></div>.
Let’s give the first <div></div> a class name of title, and put inside it an <h1></h1> tag.
Let’s give the second <div></div> a class name of date and add inside it a date just that you can see for the moment what it looks like.
And let’s give the third <div></div> a class name of time and add inside it a time.
So the final HTML code is:
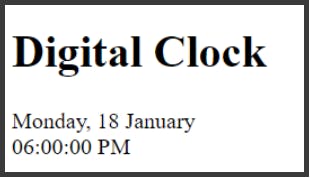
In the browser you’ll have:
Part 2: CSS
Now let’s add some CSS.
All our elements are inside the <div></div> that has a class name of container.
So let’s start by centering vertically the elements inside the <div></div>.
To do that first of all we should give the <div></div> a height. Here we’ll give it a height of 400px and the elements will be arranged inside this height of 400px.
So to arrange and center the <div></div> elements we will change the display property to flex, and add justify-content and align-center properties.
As a background, we want an image. So we’ll use background-image property to add the image. And as we want the image to be centered and we don’t want it to be repeated, we’ll add background-repeat and background-position properties.
We’ll add also background-size to resize the image.
So the code will be:
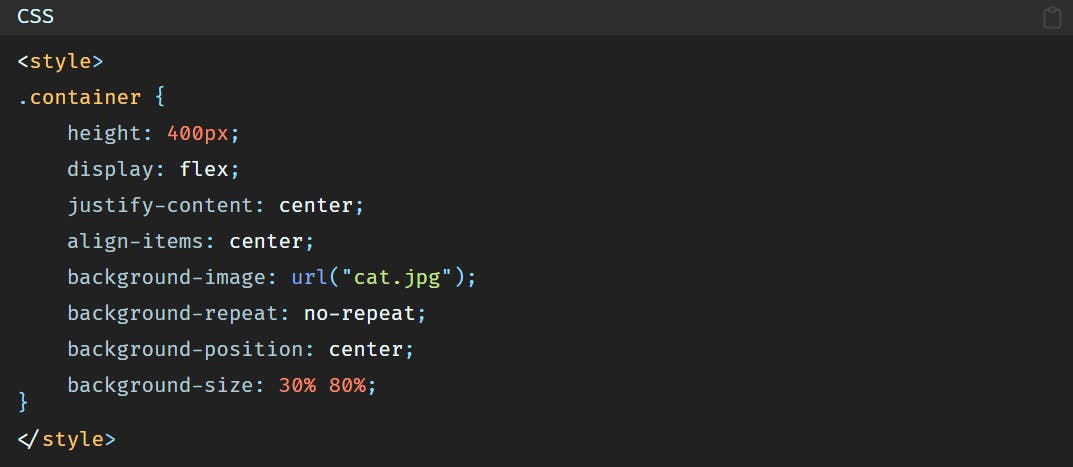
In the browser we have:
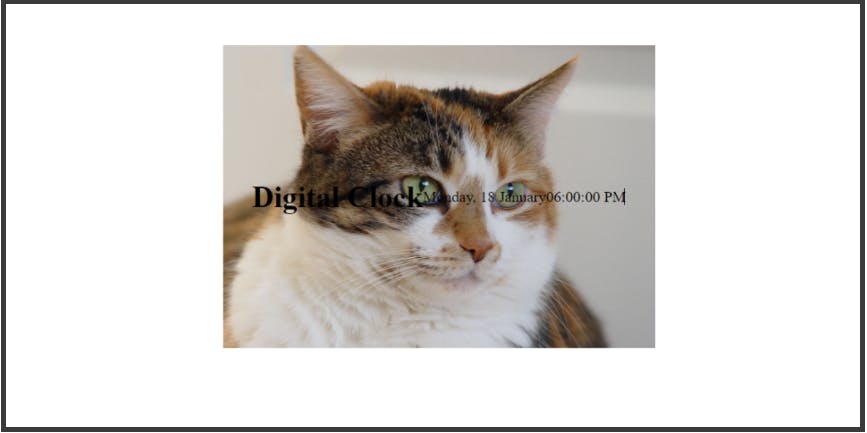
However, we want the elements to be one under another, not one next to another.
As we added the display property and we set it to flex, we can determine the main line for the elements.
The main line simply means the line that will contain the elements. The line is either horizontal or vertical.
So as we want the elements to be in a vertical line and not a horizontal one, we’ll add the flex-direction property and set it to column.
So the code will be:
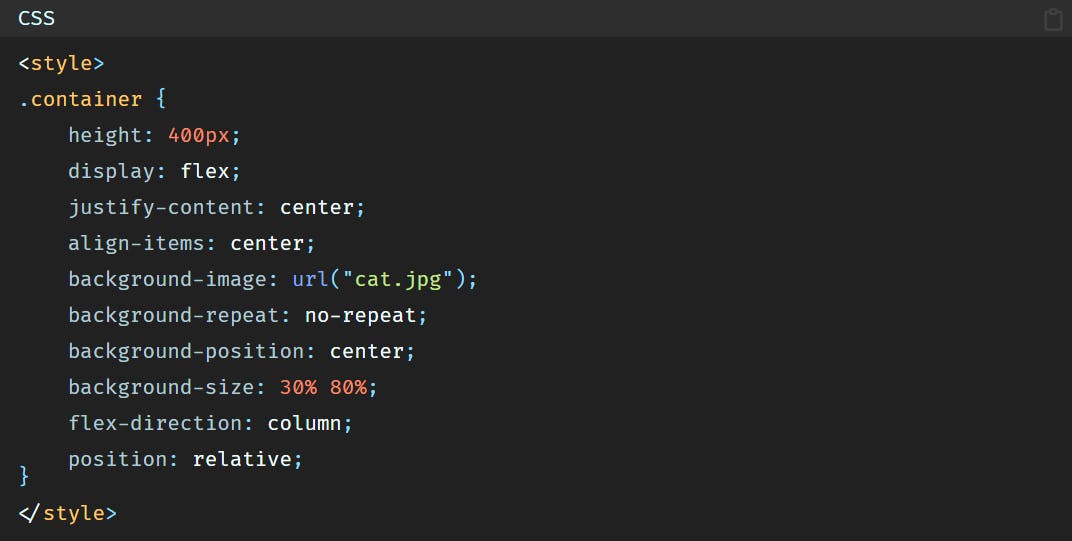
And then in the browser this will look like this:
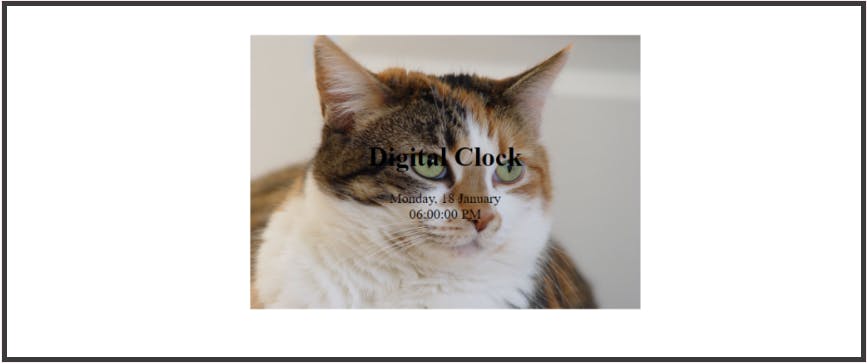
If you noticed, we also added the position property, and that is because we will position the rest of the elements, but we need a reference to which we will position them. And this reference in the container <div></div>.
To understand more CSS position and relative and absolute positions check this tutorial: absolute and relative positions: What’s the difference?
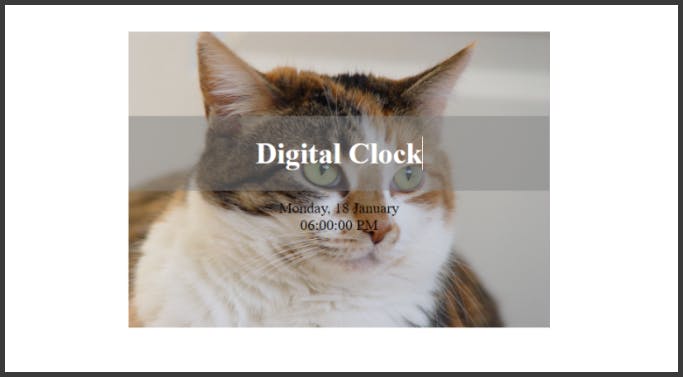
So let’s add some styling to the rest of elements and position them.
For the second <div></div> that has a class name of title we will add a background color and center the text in the middle of the <div></div>.
We will also set a width and change the color of the text to white and add a bottom space.
So the code is:
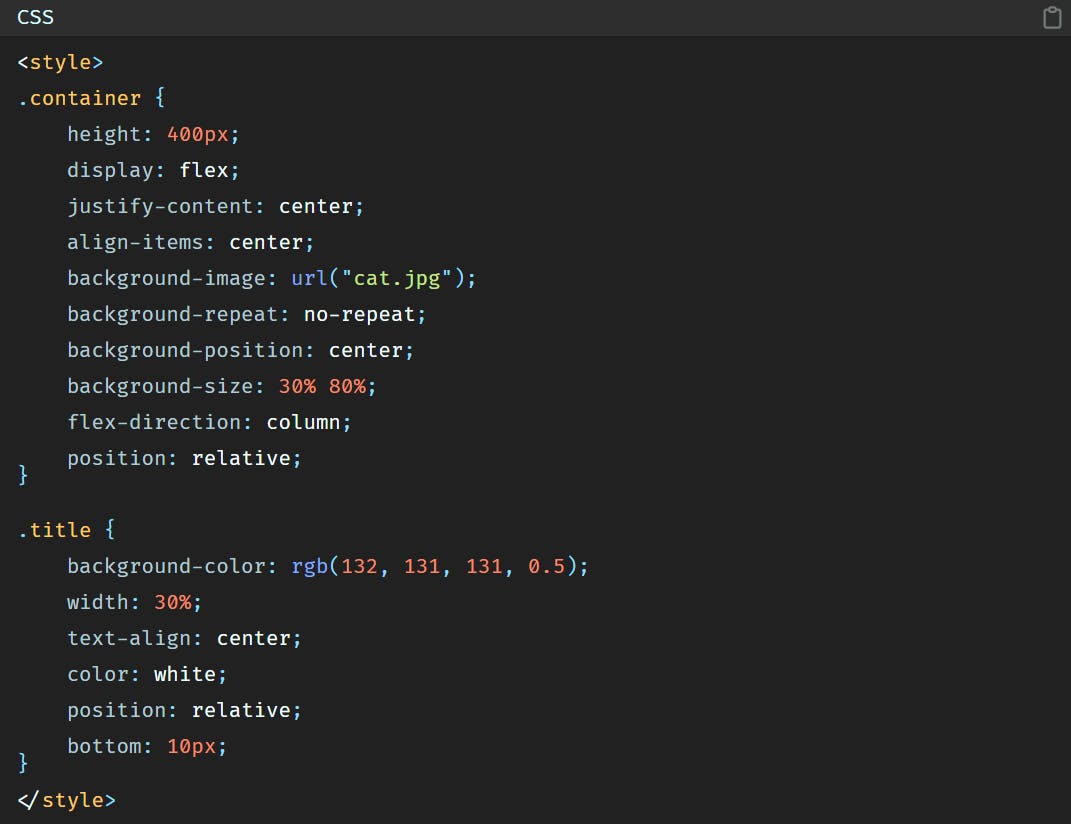
In the browser it looks like:
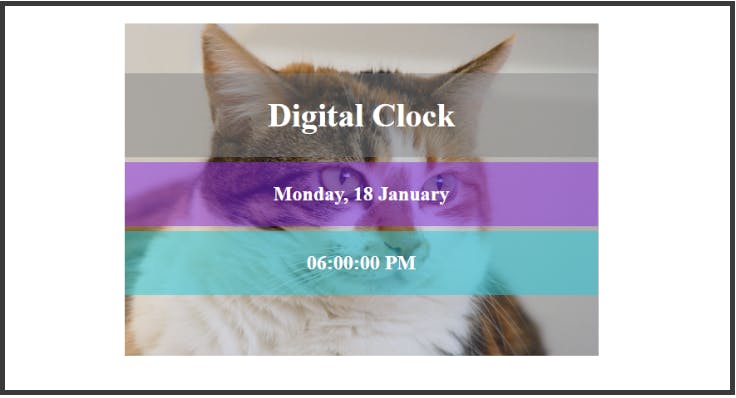
Let’s style now the 2 remaining <div></div> tags.
We’ll add a background color for each, center the text in the middle, add some padding and set a width and a position.
So the CSS code will be at the end:
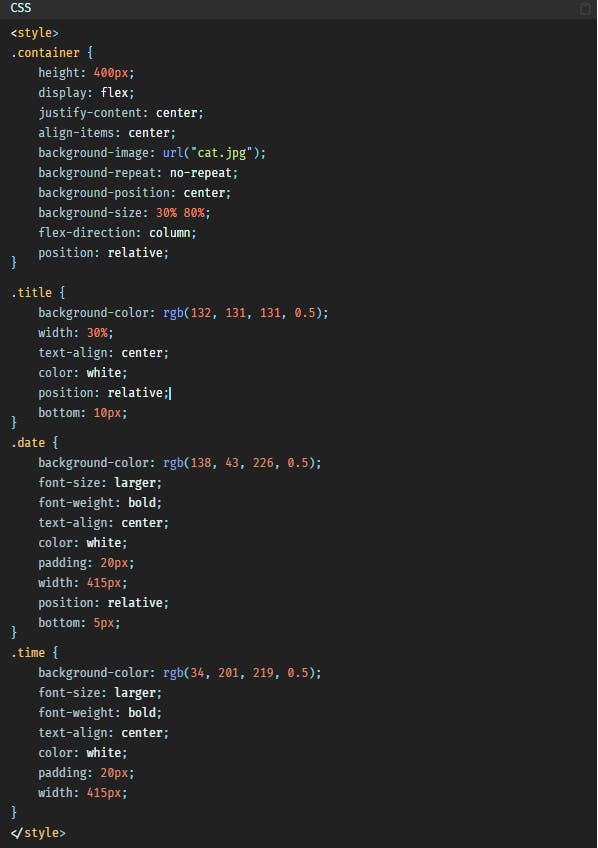
In the browser that will be:
Part 3: JavaScript
a)- Setting the date
First, let’s display the current day in the <div></div> that has a class name of date.
To do that we will work with the Date() object and its methods.
The code will be:
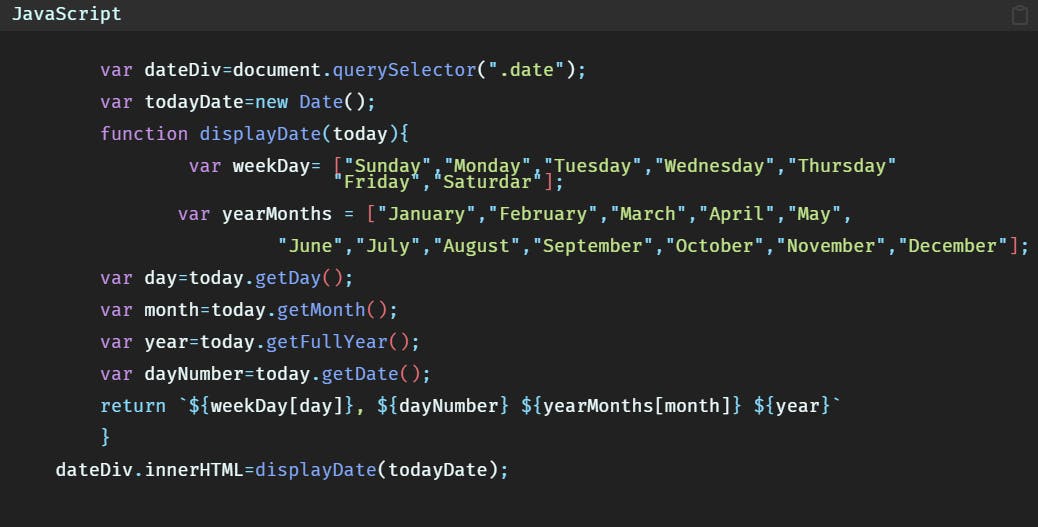
Let’s explain the code.
First we selected the <div></div> with the class name of date because we’re going to need it later and we stored it inside the variable dateDiv.
Then we created a Date object using the new Date() constructor that contains different methods to get the day, the month, the year…
Inside the function displayDate() we extracted the day, the month, the year and the date using the different methods getDay(), getMonth(), getFullYear(), getDate(). The values are stored in the variables day, month, year and dayNumber.
As the getDay() method returns a number from 0 to 6, with 0 being Sunday and 6 being Saturday, we added an array of weekDay where we stored the days of the week. this way if for example today.getDay() returns 2, then weekday[2] is Tuesday, which means weekday[day] is Tuesday.
Same thing for the months, the method getMonth() returns a number from 0 to 11, with 0 being the month of January, and 11 being the month of December. That’s why we also created an array of all the months of the year.
Finally we return the value of weekDay, dayNumber, yearMonths and year.
At the end we just put the value that the function returns inside the <div></div> we stored inside the variable dateDiv.
b)- Setting the time
Now, let’s display the current time in the <div></div> that has a class name of time.
So the code is:
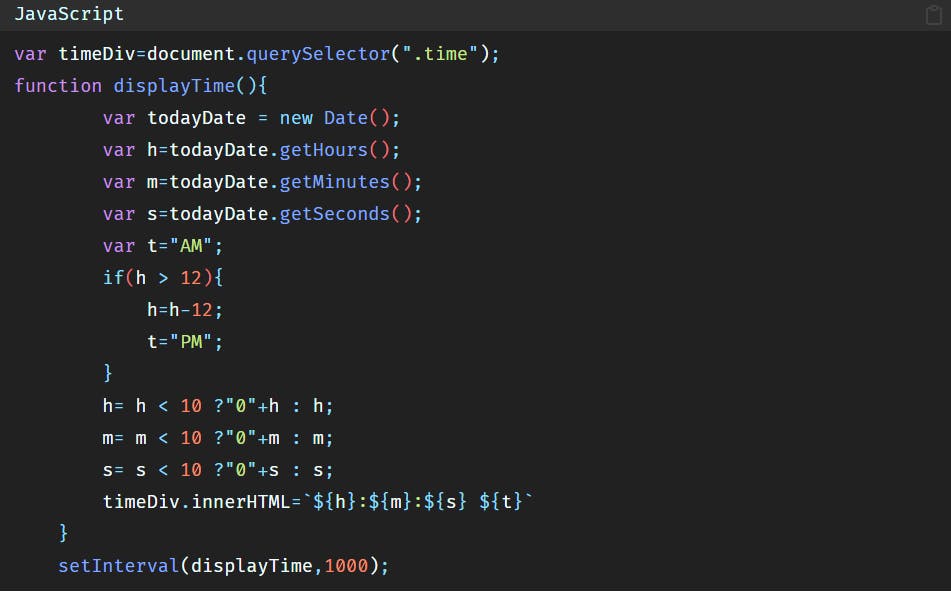
Let’s explain the code.
First we selected the <div></div> with a class name of time and stored it in variable that we named timeDiv because we will use it later.
Then we created a function displayTime().
Inside this function we created another object using the new Date() constructor once again.
Then we extracted the hours, minutes and seconds using the getHours(), getMinutes() and getSeconds() methods and we stored them in h, m and s variables.
After that we set the variable t to “AM” so that we can change between “AM” and “PM“.
We added a condition to make the clock a 12 hour clock, because the getHours() method returns a number from 0 to 23, but if we want a 12 hour clock we have to subtract 12 from 24 as we have 24 hours in a day.
At the same time we said if the hours are greater than 12, which will then be the afternoon, then instead of “AM” it should be “PM“.
Finally, we added the zero in front of the the hours the hours, minutes and seconds if they are less than 10, because the time will be normally displayed like this: 8: 6: 5 AM. So if we want it to be displayed like this instead 08: 06: 05 AM, we have to add a condition and say if the number is less than 10 then add a zero if not then keep the time as is. And this condition we added it using the ternary operator to make the code cleaner.
At the end we added the setInterval to repeat the function every 1000 ms to see it incrementing.
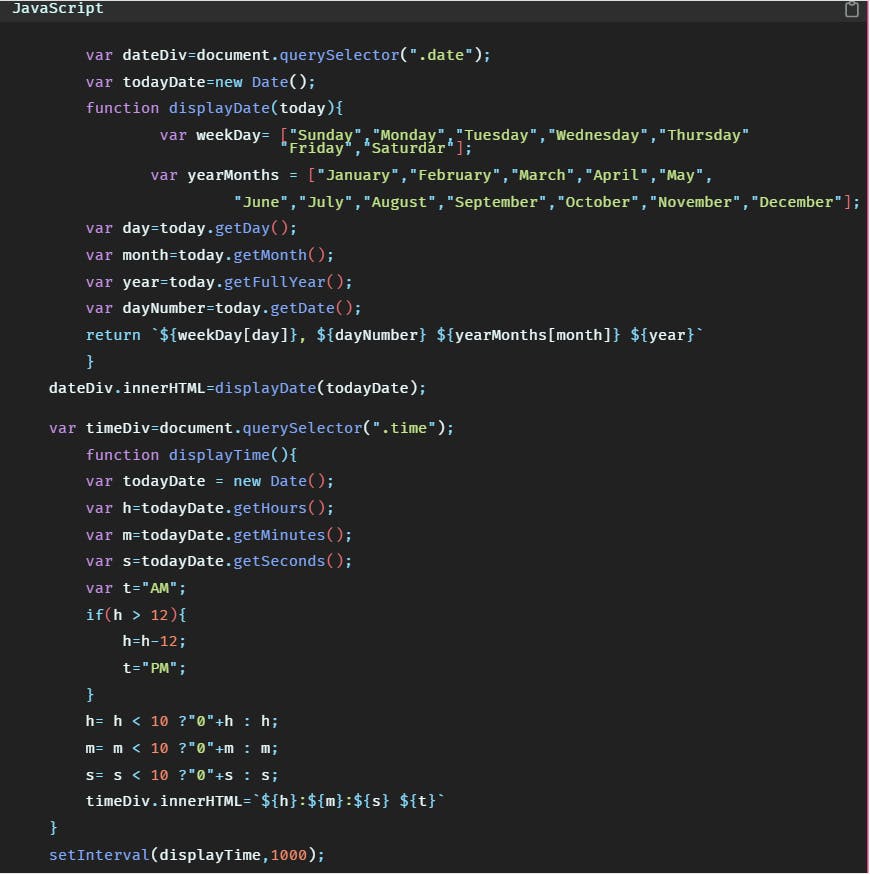
The final JavaScript code is:
Read More
Project: Password Generator
Project: How to make piano sounds with computer keyboard
How to make money as a web developer(7 sources of income)
How to Start Coding in HTML, CSS, and JS: The Ultimate Guide for Beginners