How to get data back from MongoDB and display it on the browser using fetch API?


How to get the data stored in the database back and display it on the front-end?
To get the data stored in MongoDB back and use it to display it on the HTML page we’ll use fetch() API.
To know how to send the data from the front-end to the back-end using NodeJS and fetch() API check my tutorial: Send data from the front-end to the back-end
To know how to store data and send it from the backend to a database check my tutorial: Store data in a database
1)- Step 1: Fetch API in the front-end:
The first thing we will do is to add the fetch() syntax in the HTML file. But this time, we’ll add a GET request instead of POST request:
So the code will be:
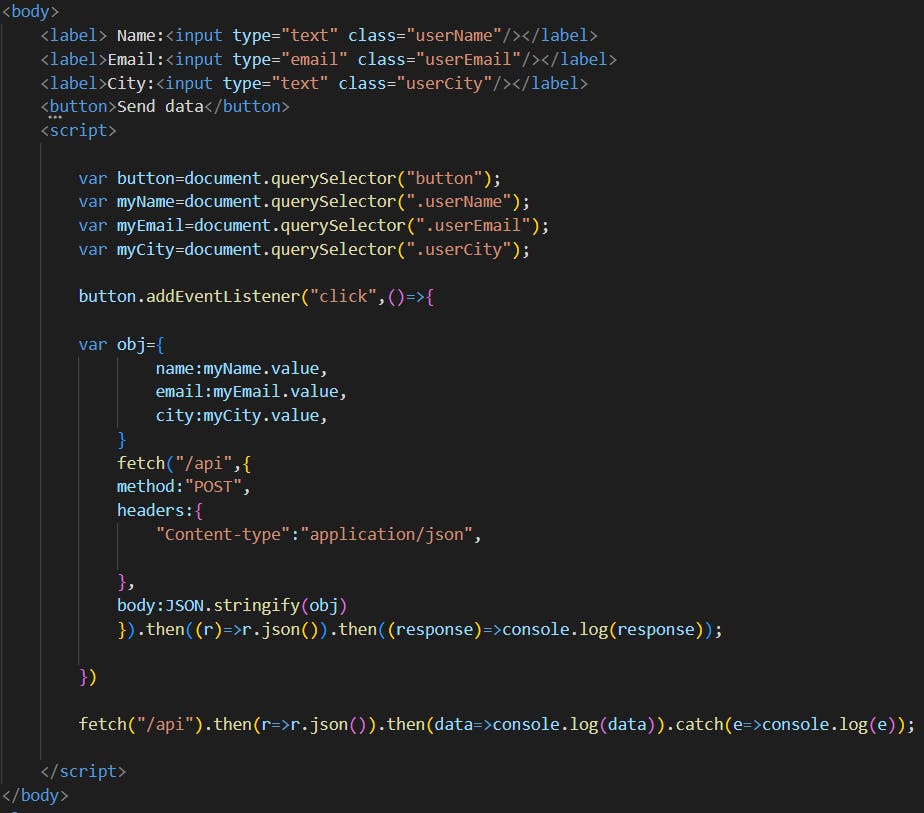
So here we will search the data from the same URL we set to POST the data to. In Part 1 of this tutorial that you can check here: Send data from the front-end to the back-end when we wanted to send data from the front-end to the back-end, we set a POST request with fetch() API, and we chose URL “/api” to send the data to, and we added a routing for this URL in Node JS.
Now to get the data, we can use the same URL “/api” with fetch(), but this time it will be a GET request.
We can use the same URL to POST and GET data, this is not a problem for the fetch() API.
Fetch() syntax is an asynchronous method that returns a promise. That’s why we have then() and catch() methods.
The 1st then() is to receive the response from the backend in JSON format. And the 2nd then() is to display the data in the console of the HTML page.
catch() method is here to catch errors if there are any.
Now if we go directly to the HTML page and refresh it to see whether we have our data displayed we will get the following error:
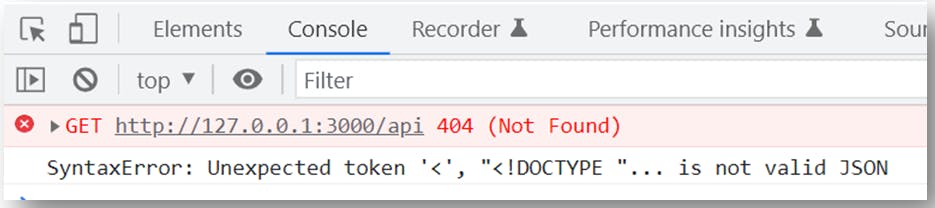
And that is because we asked the front-end to fetch the data from “/api” URL, but we did not set the rounting for the GET method of the “/api” URL yet in Node JS.
So in short, the front-end did not find the URL “/api” we are requesting.
2)- Step 2: Add GET routing in the backend
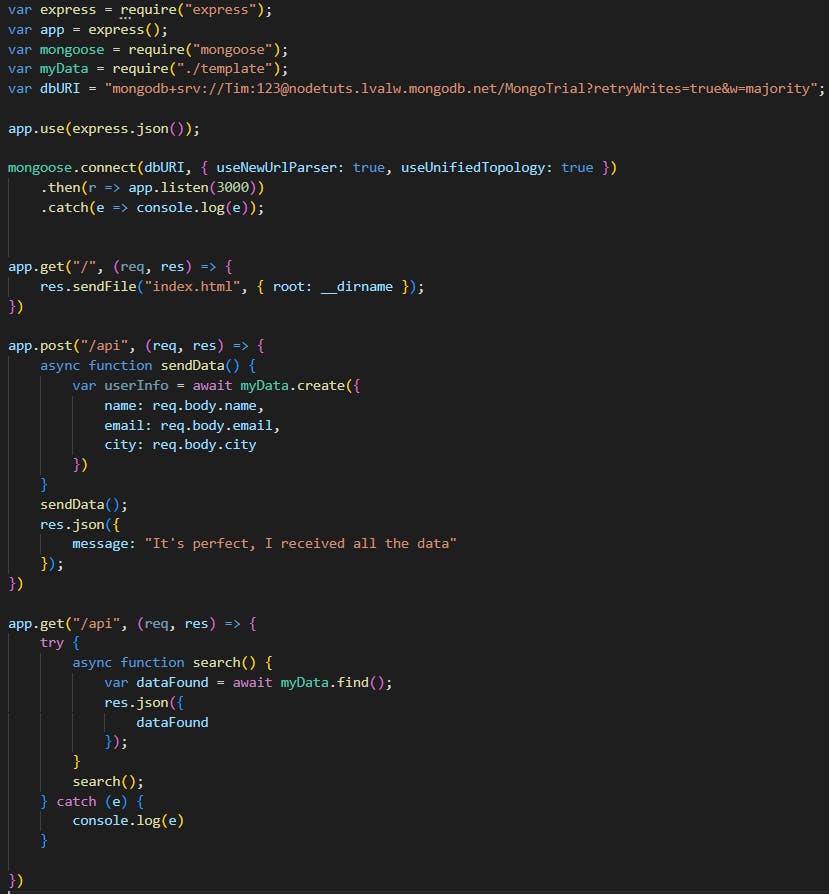
To set a routing for the GET request in Node JS let’s go back to index.js file.
The code will be:
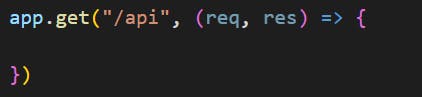
The syntax to set a GET request routing is similar to the one to set a POST request routing.
So inside of this routing we’ll add one MongoDB method that allows us to retrieve data from the database. And this method is find().
There are many MongoDB methods that you can use depending on what you want to do.
For example the find() method retrieves all the data stored in the database.
find({name:”Tom”}) will retrieve all the data that has a name of “Tom”.
findOne({age:39}) finds the first match where the age is 39 and so on…
For this tutorial we will use the find() method.
So the code is:
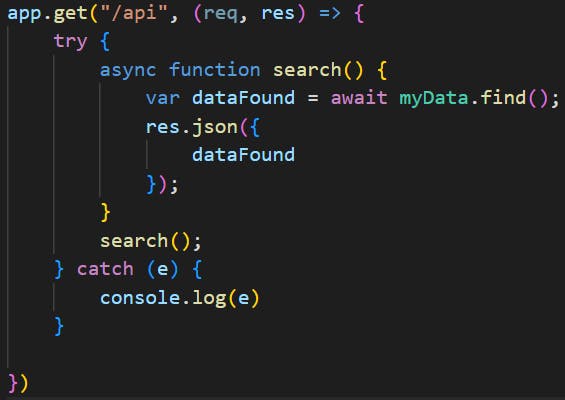
So here inside the app.get() routing we added a try{] catch{} block in case if there are any error, to keep the code going.
We also added also a function and stored the data retrieved from the database inside a variable that we called dataFound.
So to get the data from the database the syntax is very simple, all you have to do is to use myData module we exported and the find() method.
After that, once the data is stored inside dataFound variable, we ask the server to send it to the front-end in JSON format by adding res.json() instruction.
So the back-end code will be at the end:
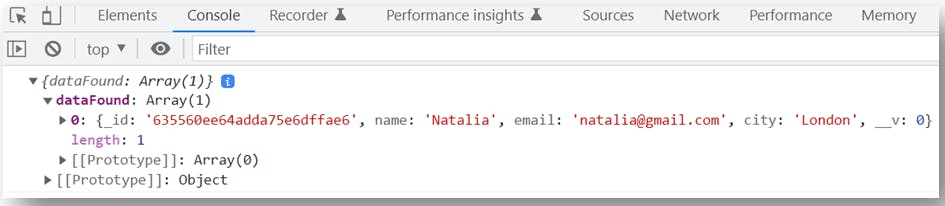
Now if you go to the browser and refresh, in the console you’ll have:
 So far this is good, but what about if we want to have our data displayed in the HTML page instead of the console?
3)- Step 3: Display data on the browser
To display the data retrieved from a database in the HTML page we’re going to tweak the front-end code a little bit.
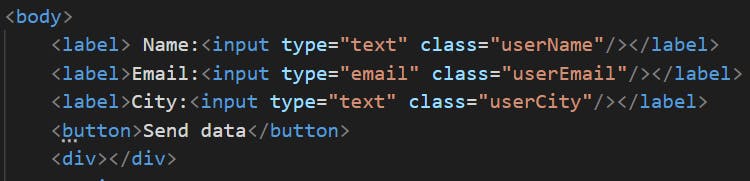
First let’s add a place in the HTML page where the data will be displayed.
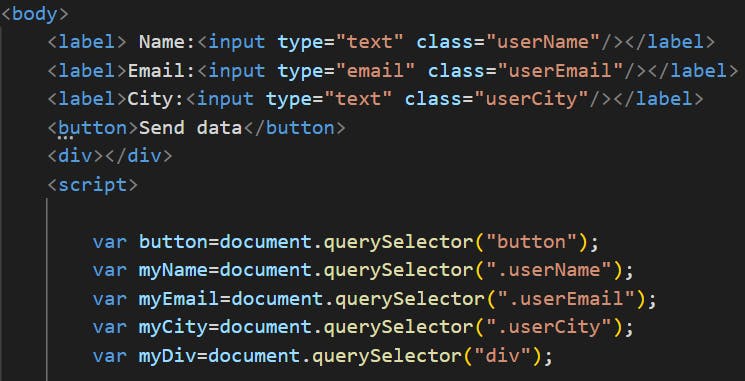
Let’s say we’ll display the data in a div. So let’s go and add a div element.
Now let’s select this div using JavaScript and document.querySelector() syntax and put it inside myDiv variable.
Now let’s go to the fetch() code, and for the 2nd then() method, instead of having then(data=>console.log(data)) we’ll change the code to the following:

So first we declared an empty variable which is dataDisplayed.
Then we added a for…of… loop to loop through the elements of the array. As you noticed from the results we had in the console, we had an array that was displayed, this array name is dataFound, which is the variable we declared in the backend.
So to access this array we use data.dataFound syntax.
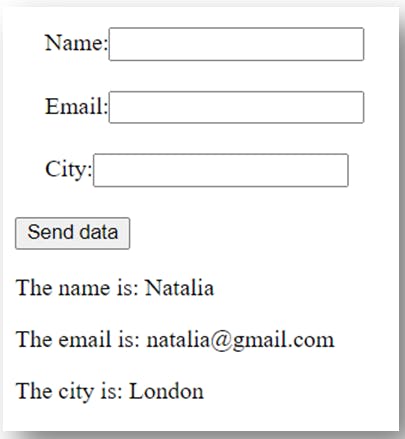
Once we access each element of the array we tell the browser that we want to display each element in a paragraph. We want to display the name in a paragraph, and then the email in another paragarph, and then the location in a third paragraph. Hence the code :
<p>The name is: ${a.name}</p><p>The email is: ${a.email}</p><p>The city is: ${a.city}</p>
And after that we put this code in the dataDisplayed variable.
Once the for…of…loop is finished we want to display the results in the div we added to the HTML page.
So as a result you’ll have:
To check the entire code visit my blog: HTML and js code