

If you're new to CSS or have used it for a little while you might have heard the words margin and padding but aren’t quite sure what they mean, or how to use them in your website.
Both properties are used to provide extra space or a gap. But what is the difference between them if they both provide space?
This tutorial will explain how these elements are used and how do they help in your website design.
1)- Margin property
margin is a CSS property that adds space between the elements.
If you have many elements on your website, and would like to add some space between them and position them differently, you use margin property to do that.
Let's see some examples:
a)- margin-top
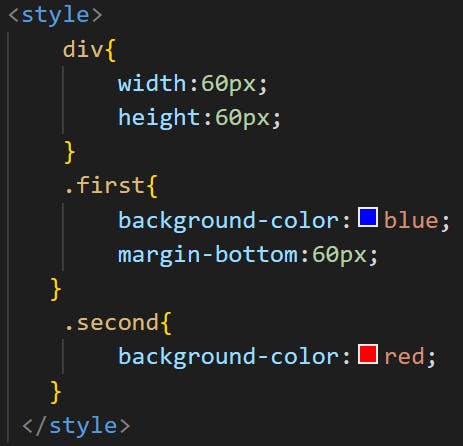
Let's say that we have 2 <div></div> elements with the same width and the same height, one has a background-color of blue and the other a background-color of red.
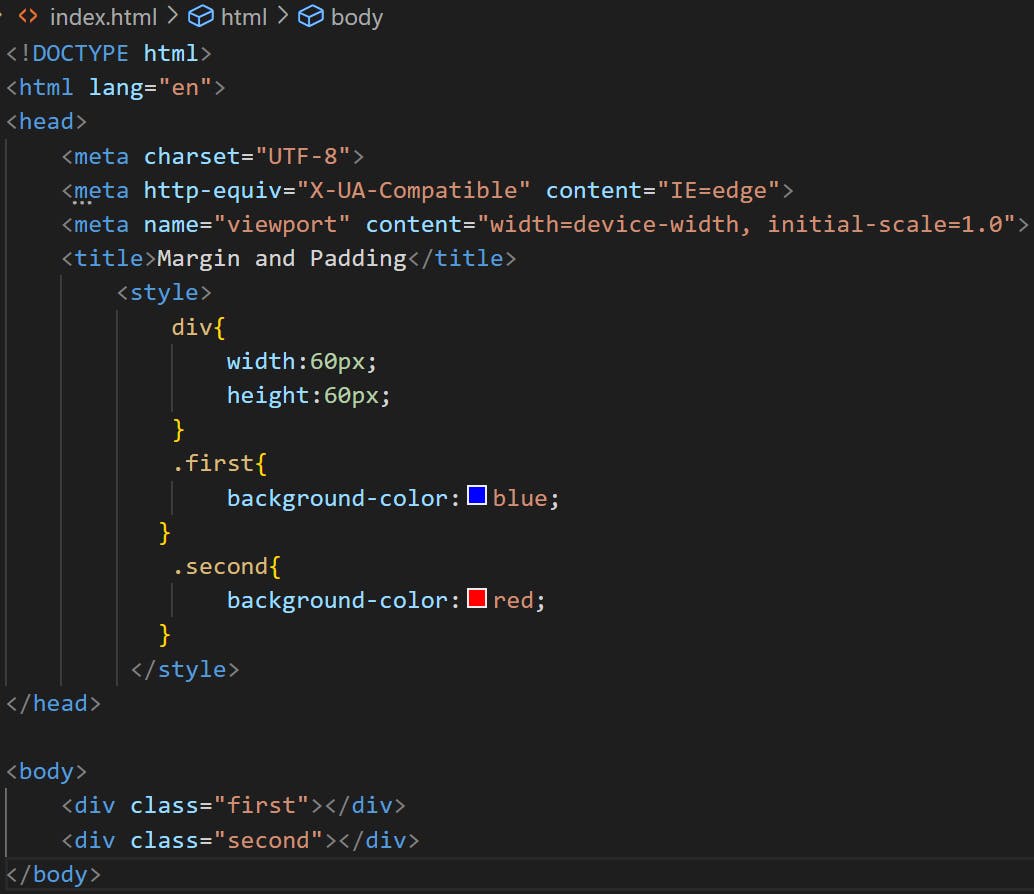 So in the browser they look like this:
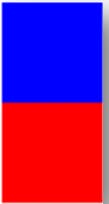 As you can see, they are on the top of each other. There is no space between them.
If we want to add some space between them one of the properties we can use is margin-top.
margin-top is a CSS property that adds some space between the top edge of the element and the bottom edge of the element before it.
in this example, if we add a margin-top to the red <div></div> then it will add space between the top edge of the red <div></div> and the bottom edge of the blue <div></div>.
In other words, it is the red <div></div> that will shift a little bit down because a space will be added to the top.
Let's add a margin-top of 20 px.
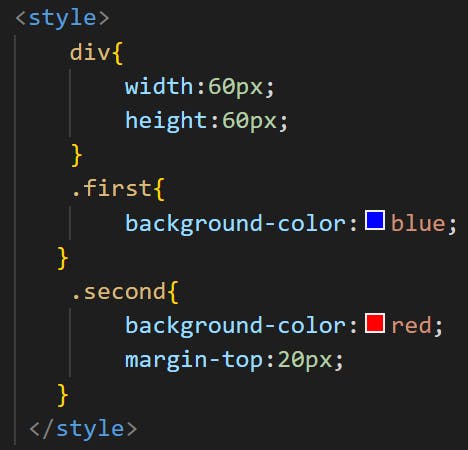 At the end we'll have:
 So now as you can see, a 20px space is added between both elements.
margin-top is a space that is always added between the element and the one before this element.
b)- margin-bottom
margin-bottom property adds some space between the bottom edge of an element and the element after it.
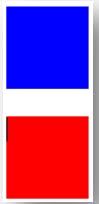
If we add a margin-bottom value to the blue <div></div>, then a space will be added at the bottom of the <div></div> pushing the red <div></div> to go a little bit down.
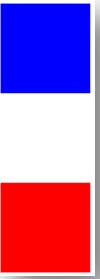
Let's add a margin-bottom value of 60px to the blue <div></div>.
 So we'll have at the end:
 Both margin-top and margin-bottom add some space between elements, but one adds space between the top edge of an element and the bottom edge of the element before it (margin-top) and the other adds space between the bottom edge of the element and the element after it(margin-bottom).
margin-top and margin-bottom add space vertically between elements.
c)- margin-left
Now let's take 2 simple pictures, one picture of a cat and one picture of a dog.
let's display them on the browser and resize them by giving them a width of 20%.
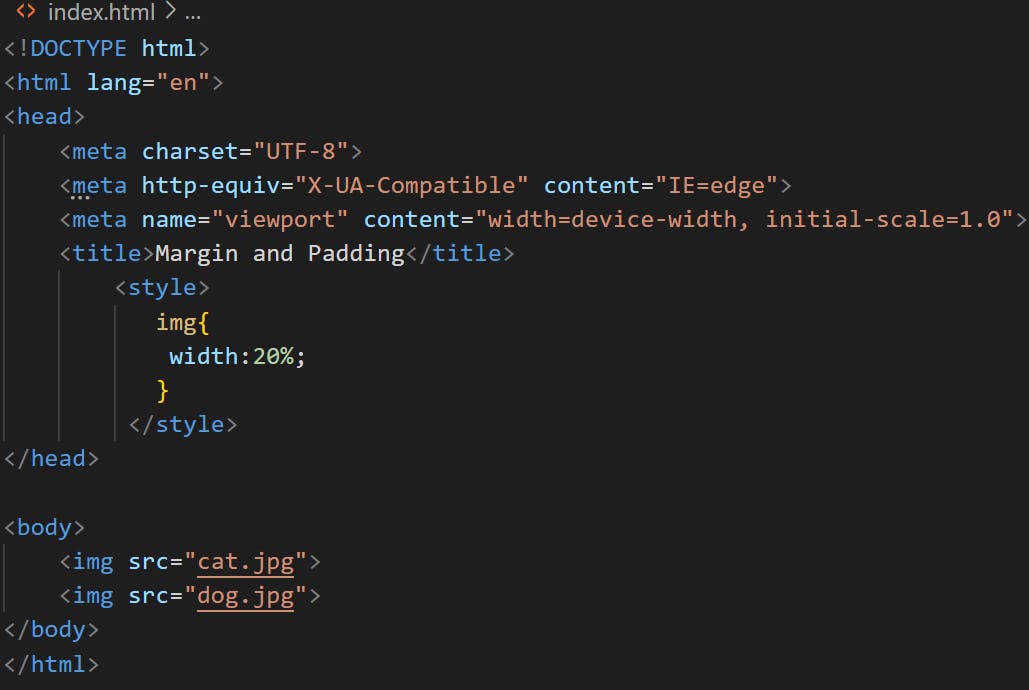 In the browser they look like this:
 As you have probably noticed, these pictures are aligned one next to another. There is no space between them.
To add some space we can add the margin-left CSS property.
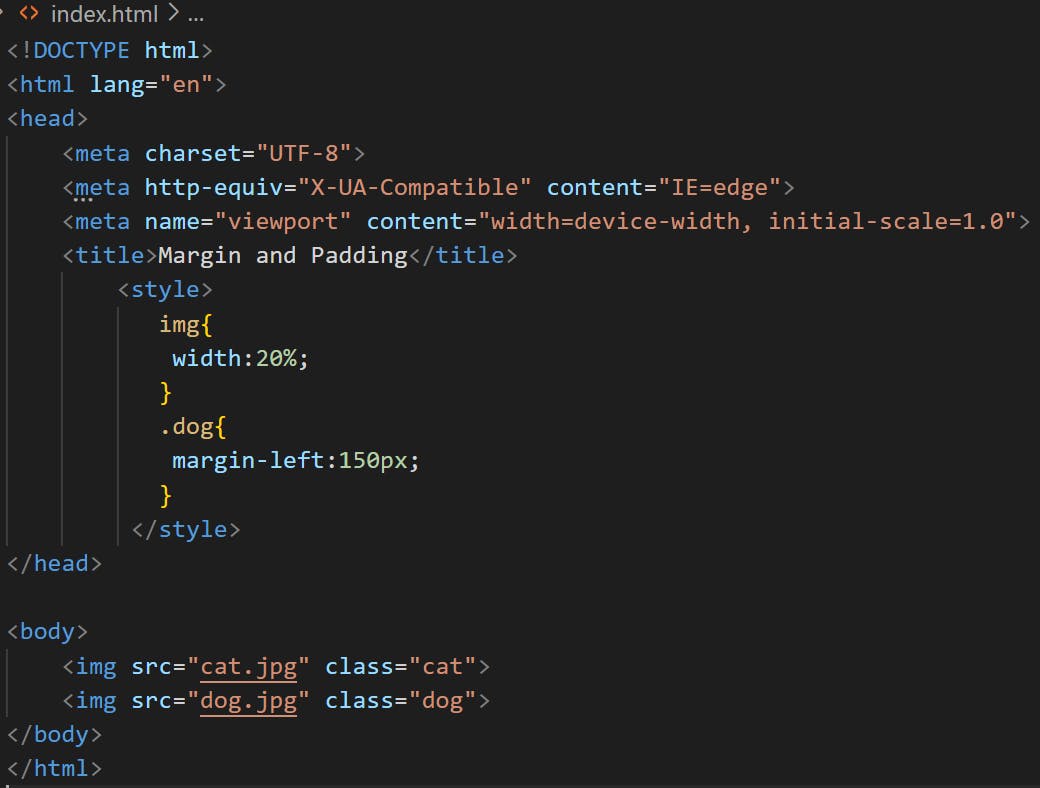
margin-left adds space on the left of an element. For example here if we add a margin-left to the dog image we will have some space on the left of the dog image, and the dog image will be shifted to the right.
Let's add a margin-left value of 150px.
 So in the browser we'll have:
 And here you are, now there is a space of 150px between both images.
d)- margin-right
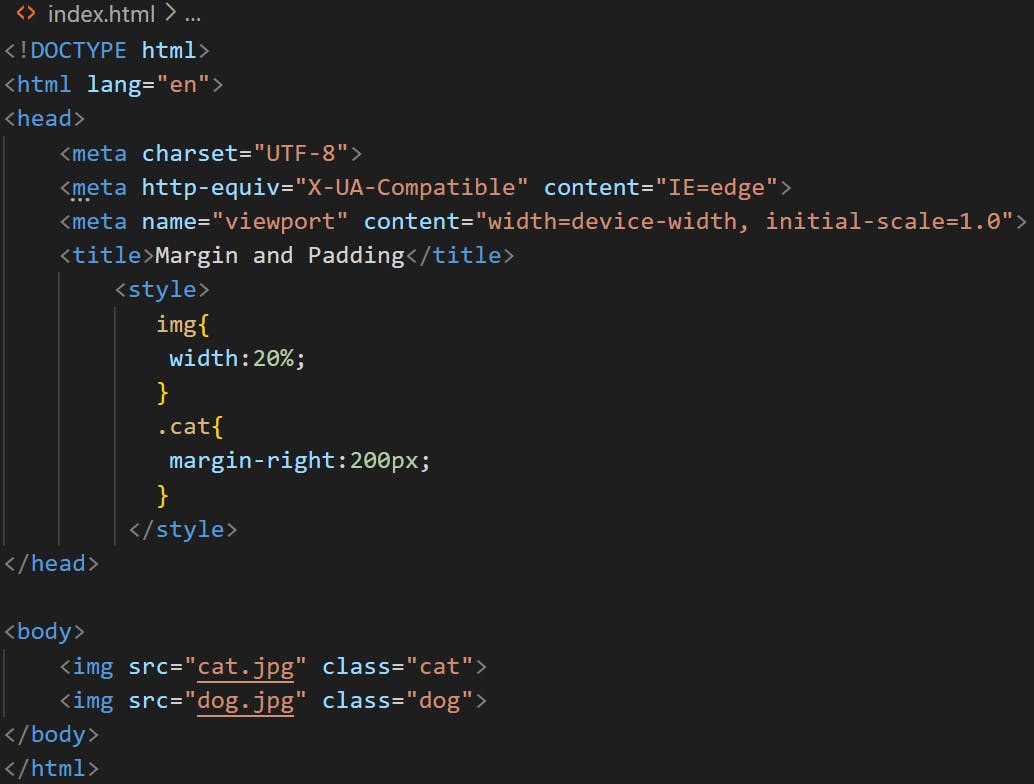
To add some space and push the dog picture to the right, we could have also used margin-right property instead of margin-left.
But this time, we would have applied margin-right property to the cat picture, because we want the dog picture to be pushed to the right. So we need space to be added between the 2 pictures for the dog picture to be pushed to the right. And margin-right adds space on the right of an element.
If we apply margin-right to the dog picture, then we will not notice anything, as the space will be added to the right of the picture and next to the dog picture there isn't any other element to be pushed.
Let's add a margin-right value of 200px.
 So in the browser we'll have:
 Both margin-left and margin-right add space between elements. margin-left adds space on the left of an element and margin-right on the right.
margin-left and margin-right both add space horizontally between elements.
e)- margin shorthand
For an element, if we want to add some space on the left and the right, or at the top and the bottom, or maybe on the left and the right and the top and the bottom at the same time, instead of using margin-left, margin-right, margin-top and margin-bottom individually, we can combine them in one CSS property that is margin.
For example, let's say that we want to add some space on the left and the top of the dog picture:
First, let's display them in block to make one picture below another:
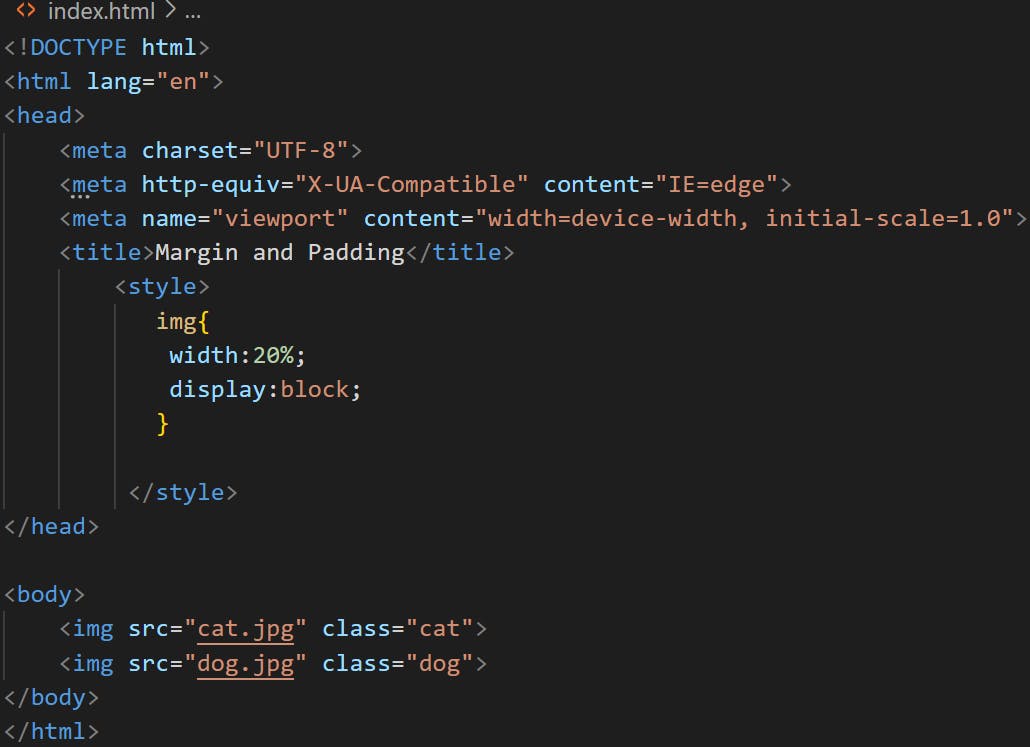 So the pictures will be aligned vertically like this:
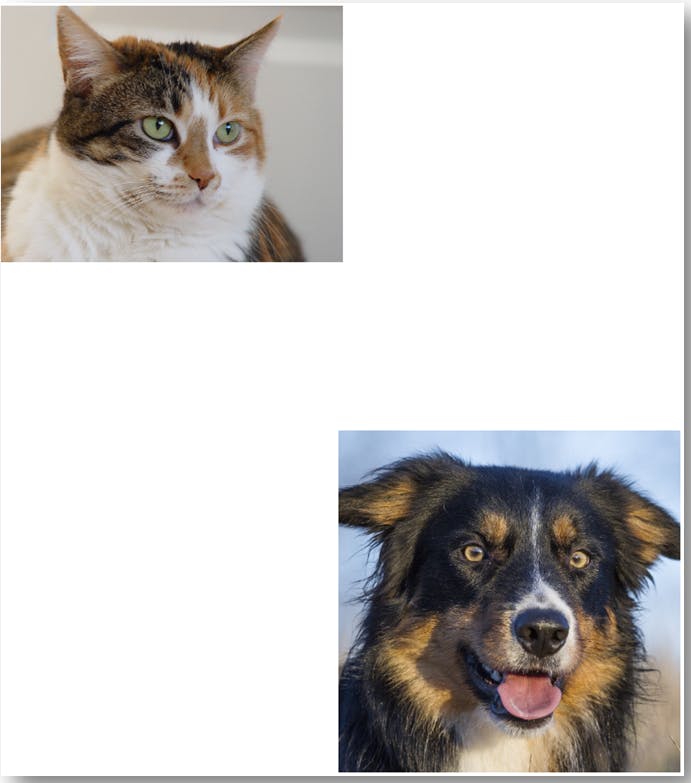
 Now let's add some space on the left and the top of the dog picture:
We can write the code like this:
 But this can be a little bit long and as we are lazy we will use margin property instead. So the code will be:
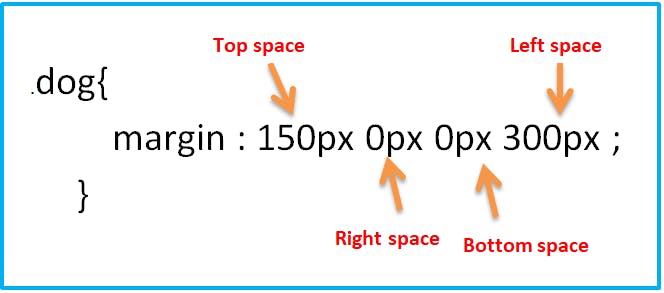
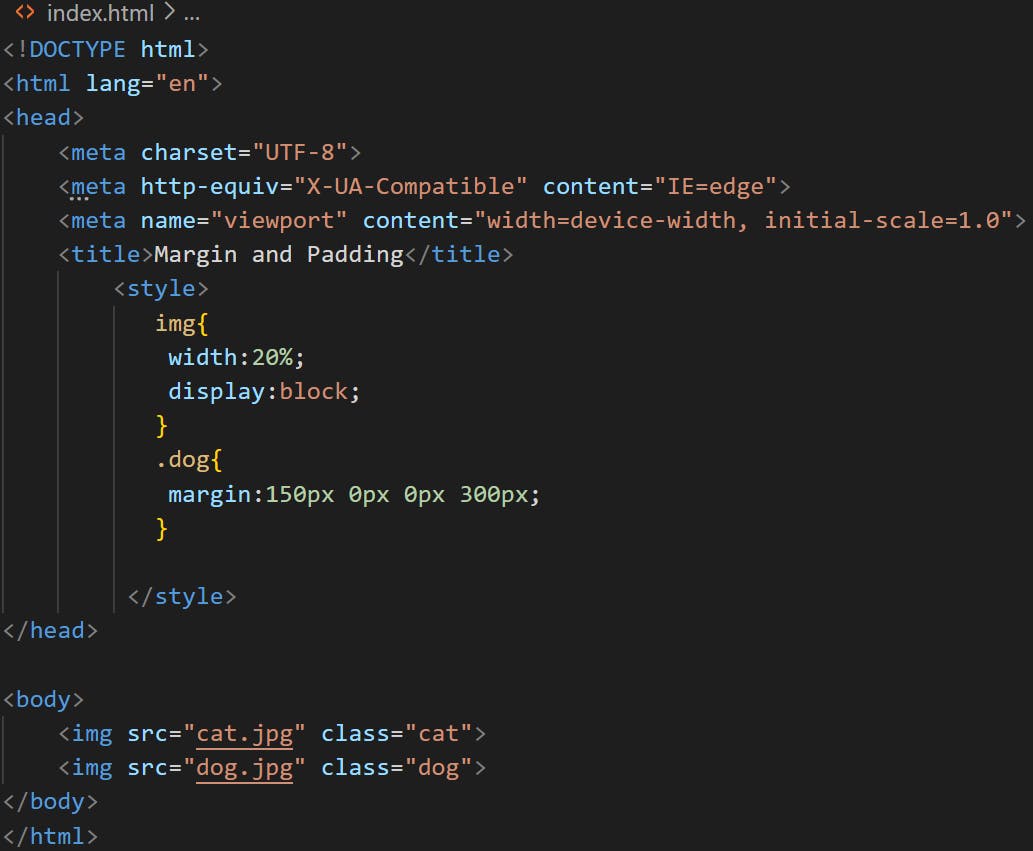 What does it mean? Simply the first value of the margin 150px represents space added at the top of an element, in other words it represents the margin-top property. The next value 0px represents the space that will be added on the right, in other words margin-right property. The next value 0px represents the space that will be added at the bottom, and by now you know that it represents margin-bottom property. And finally the last value 300px is the space that will be added on the left of an element, or should I say margin-left property.
 So in the browser we'll have:
 Now if we want to add the same space at the top and the bottom of an element, and the same space on the left and the right, the margin property can accept only 2 values.
Let's say that we want to add 200px space at the top and the bottom of the dog picture, and 400px on the left and right.
Instead of writing the code this way:
<style>
     .dog{
               margin: 200px 400px 200px 400px
           }
</style>
Which is still correct by the way, we can write it this way:
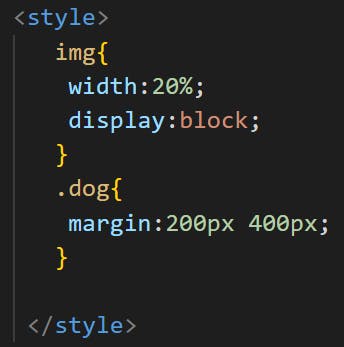 So here the 1st value 200px is for the top and bottom margins, and 400px is for the left and right margins.
If we want to add the same space to all element's border we can write the code like this:
<style>
     .dog{
               margin: 200px 200px 200px 200px
           }
</style>
Which is always correct, but we can also write it this way:
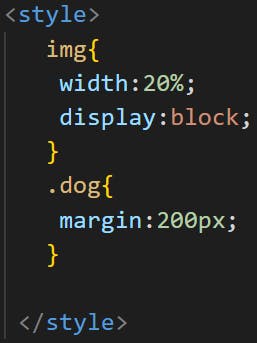 That means that a space of 200px will be added at the top, bottom, left and right of the element.
And finally, if we want to add the same space to the left and the right value, we can write the code like this:
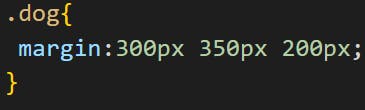 So here 300px represents the top margin, 350px is the left and the right margin, and 200px is the bottom margin.
2)- padding property
padding property, just like margin property, adds also space. But this time, instead of adding space between other elements from the outside, it adds space inside the element itself.
Let's see how it works.
a)- padding-top
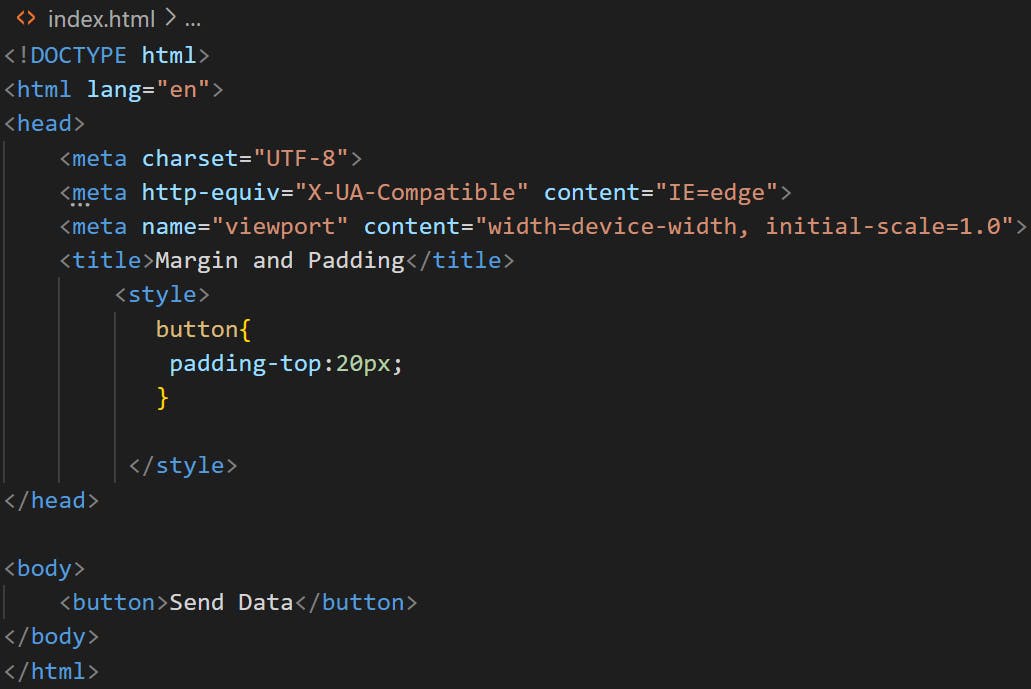
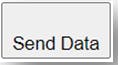
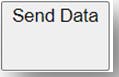
Let's say that we have a button. And the button's text says "Send Data".
 So in the browser we have:
 Now if you noticed, the space between the text "Send data" and the top border of the button is very small. If we want to make some space between the text and the top border of the button we should add space inside the button element, because this time the text is inside the button, not outside.
So to do that we use the padding-top CSS property. So the code will be:**
 And in the browser the button will be:
 So the padding-top property made some space inside the button between the text and the top border of the button.
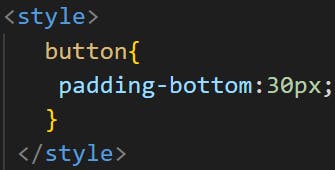
b)- padding-bottom
We can also add a padding-bottom value if we want to add some space at the bottom between the text and the bottom border of the button.
So the code will be:
 And in the browser the button will look like this:
c)- padding-left
There is also the padding-left property that adds space on the left between the left border of the button and the text.
 So in the browser we'll have:
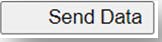
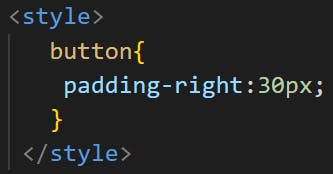
d)- padding-right
padding-right property adds space to the right of the button.
 So the button will looke like:

e)- padding shorthand
Same thing as for margin property, there is a shorthand for the padding property as well.
If we want to add different values of padding to all button's borders at the same time then we'll add the following code:
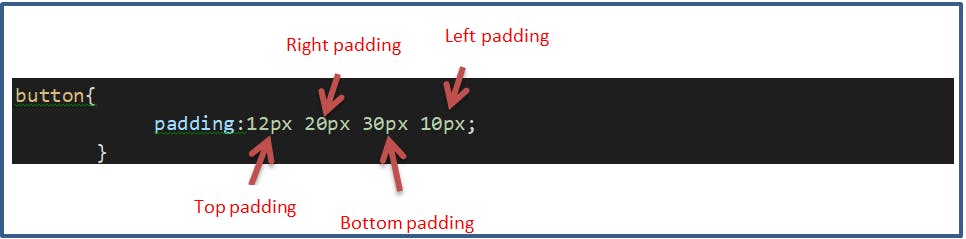 The first value 12px adds space at the top between the top border of the button and the text.
The second value 20px adds space to the right between the right border of the button and the text.
The third value 30px adds space between the bottom border of the button and the text.
The fourth value 10px adds space between the left border of the button and the text.
So in the browser we'll have:
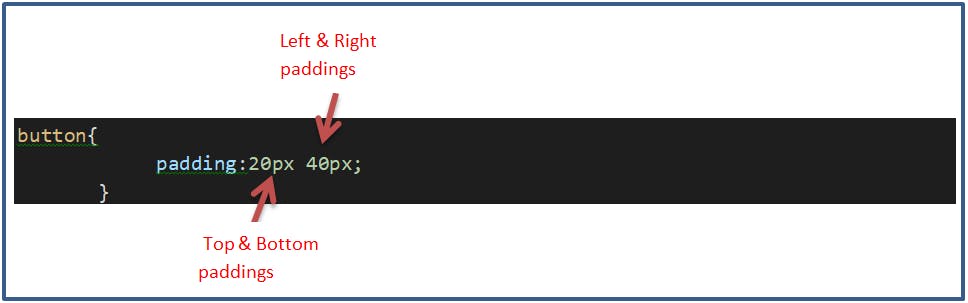
 Now if we want to add the same value of padding at the top and the bottom of the button, and the same value to the left and right, the code will be:
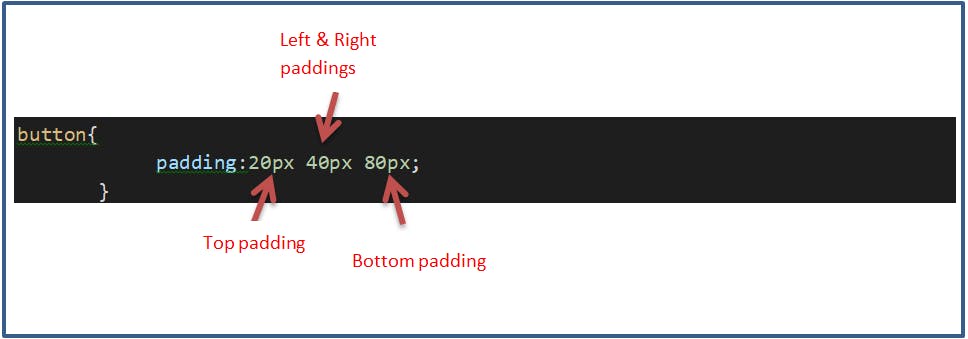
 If we want to add the same value to the left and right, but different values at the top and bottom, then the code is:
 And finally if we want to add the same value to the 4 borders of the button then we'll add:

3)- Conclusion
We use margin property when we want to add space between HTML elements.
margin-top and margin-bottom add space vertically between elements.
margin-left and margin-right add space horizontally between elements.
We use padding property when we want to add space inside the HTML element itself.
padding-top and padding-bottom add space vertically between the element's border and its content.
padding-left and padding-right add space horizontally between the element's border and its content.